
FLOOR CATEGORIES
PRODUCTS
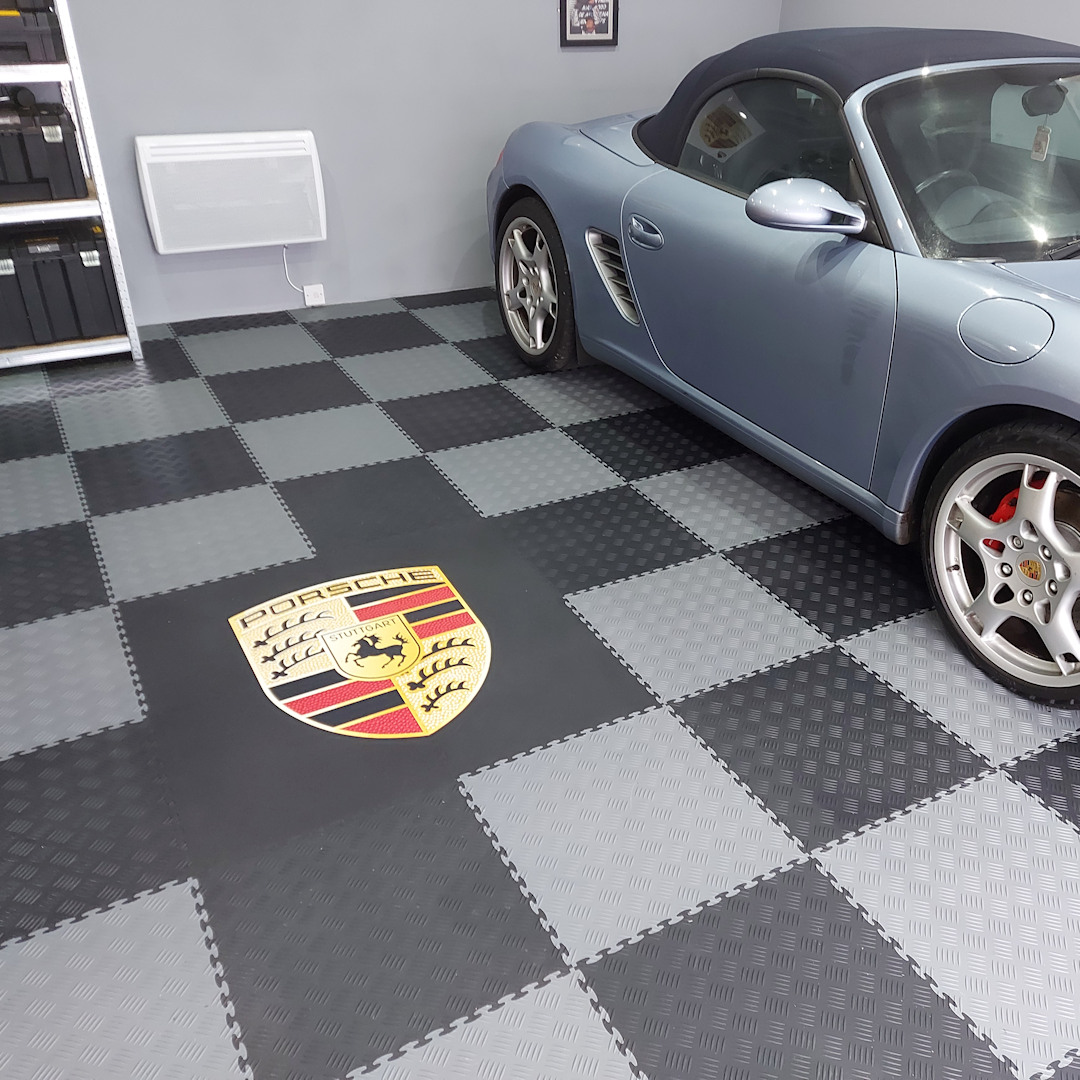
Garage Floor Tiles
Browse the best heavy-duty 50cm PVC garage floor tiles, available in 3 stunning finishes.
DURATILE™ | DURASTUD™ | DURATREAD™

We’ve put together this quick fitting guide to help you lay your floor tiles and get the best results.

Begin by clearing out your garage or work space, removing all non-permanent items.
Starting with a clean surface is important. We recommend a long-handled stiff brush to sweep up grit and other debris that might affect the tiles.
We always recommend a front to back approach when laying floor tiles. This way, the best edge is at the visible end of the space, assuming other edges may need cutting to fit.
IMPORTANT: Remember to leave a 1/2 inch gap around the floor area to allow for expansion of the tiles, which may occur in certain conditions. It is also a good idea to attach any entrance ramps to the front row of tiles first before leaving a gap.

Working from side to side, lay the tiles over the area, making sure they are joined securely. We recommend a good quality nylon hammer to secure the interlocking edges together.
IMPORTANT
Some tiles may require cutting to fit around objects and awkward areas. If you are cutting tiles, we recommend a jigsaw or a guillotine for a better finish.
If you are using ramps to finish the other edges of your area, add these once all the tiles are laid in place. We recommend working from corner to corner rather than in the middle of the side.
IMPORTANT: Our PVC corners and straight edge sets are compatible with all 7mm PVC tiles.


When you’ve completed laying your tiles, check all the joints are connected properly and clear up any debris or cuttings.
Now you can enjoy your new garage floor!
NEW: Download our additional fitting guide here.